The Quiet Thrill of Finding Your First Geode (and Where to Look)
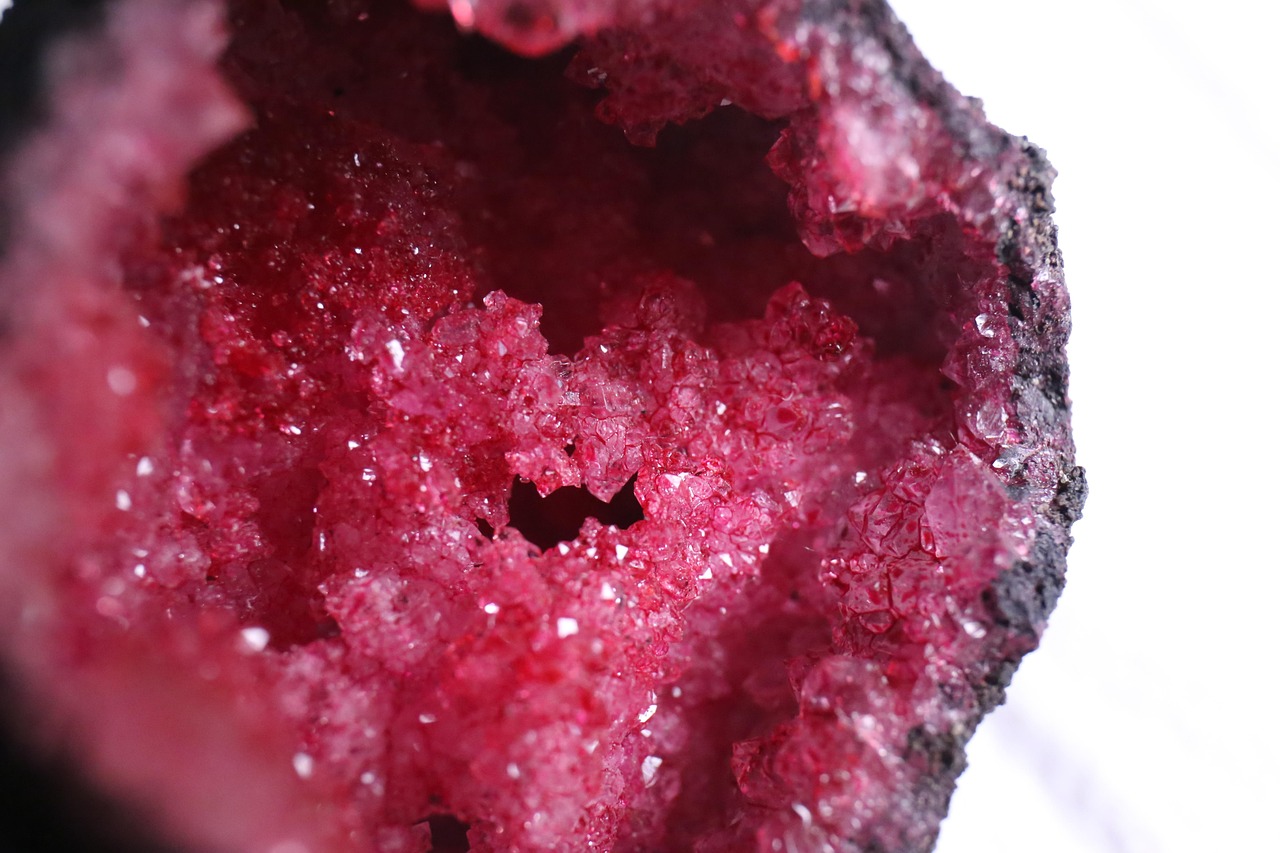
There's a specific moment that hooks most rockhounds for life: you pick up a plain, lumpy, unremarkable rock, crack it open, and find a hollow cavity lined with sparkling crystals. That's a geode, and once you've found one, you never quite look at gravel the same way again. The good news is that geodes aren't rare or mystical. They form in specific geological settings, and once you understand those settings, you can start finding them on hikes you were already planning to take.
A geode starts as a hollow bubble or void inside a larger rock, often in limestone, shale, or volcanic ash beds. Over thousands of years, mineral-rich groundwater seeps into that void and slowly deposits layers of quartz, calcite, or sometimes amethyst along the interior walls. The outer shell stays dull and rocky, which is exactly why they're so easy to walk past. Your eyes learn to look for rounded, slightly bumpy nodules that feel heavier than they look and often have a waxy or chalky exterior.
Reading the Terrain for Geode Potential
The best geode hunting happens where erosion is actively exposing older rock layers. Think creek banks, road cuts, gravel bars, and the base of bluffs where chunks of bedrock have tumbled down. In the Midwest, certain limestone and shale formations are famous for geodes, and in the Southwest, volcanic ash beds sometimes produce them too. You don't need a geology degree. You need to notice where the ground is shedding its older layers and walk those edges slowly.
Look for concentrations of nodules in one area. Geodes often weather out of a specific band or lens within a formation, so if you find one, slow down and search the surrounding twenty feet carefully. Pick up anything that looks suspiciously round, oddly heavy, or out of place compared to the surrounding rock. Many geodes are smaller than a golf ball, but some reach the size of a softball or larger.
Opening and Keeping Your Finds
You have options for opening geodes, and they range from delicate to destructive. A pipe cutter or a specialized geode cracker gives you a clean split with minimal shattering. A hammer and chisel work fine but tend to pulverize smaller specimens. Some people score the geode with a tile saw first to control where it breaks. If you're hiking with limited gear, sometimes the smart move is to carry geodes home unopened and crack them later with better tools and more patience.
Remember that collecting rules vary wildly by location. National parks generally prohibit removing rocks, while BLM land and many national forests allow reasonable personal collecting. Always check the specific rules for where you're hiking before you fill your pack. And here's a tip that took me years to learn: photograph the geode in place before you pick it up. The context of where it sat, what surrounded it, and how it was oriented tells you more about the geology than the specimen alone ever will.
The first geode is memorable, but the tenth is when you start to see patterns. You begin to recognize the shape, the weight, the texture. That's when rockhounding stops being luck and starts being skill.